Everything You Need to Know for Winterizing a Boat
With winter right around the corner, the cold air will soon be taking over, causing temperatures to drop below freezing for half of the country. But before that happens you need to make sure that your boat is ready.
Without properly winterizing your boat, you run the risk of water freezing and causing the engine block to crack, resulting in having to replace the engine come the spring.
After doing a bunch of research on the best ways to winterize my boat, I have come up with the following guide to help you with your winterization checklist.
- Stabilize the Fuel
Top up your fuel tank, but leave a little room to add fuel stabilizer. Both STA-BIL and Sentry are two acceptable brands that will protect your fuel year-round. Adding fuel stabilizer to your fuel will prevent fuel injectors and carburetors from clogging by stopping oxidation and chemical breakdown from inside your fuel tank. - Fog The Engine
Fogging the engine with an anticorrosive oil will protect the carburetor, and the cylinders from corrosion will be stored for an extended period. It is better to apply a fogging oil to the engine while it is running. Be sure to read our article starting a boat engine out of the water before you start it up. Apply a generous amount of fogging oil into the air intake. - Drain Water From Engine
If you have a stern-drive and inboard engine, you will need to manually open the petcock generally located at the sides of the engine block. Don’t forget to remove the water-pump hose from the water pump to allow all of the water trapped inside to empty. Any water left inside the engine or hoses could freeze, expand and then crack the engine block and weaken hoses. Outboard engines do not require this because of the fact that they self-drain. - Fill The Engine Block With Antifreeze
Run a non-toxic propylene glycol antifreeze through your engine to prevent any residual water trapped inside from freezing. - Change The Oil and Oil Filter
Engine oil should be replaced at the end of the summer to help prevent moisture from corroding the engine. Moisture could lead to several different problems, such as loss of power, excessive engine wear, and not to mention the possibility of complete engine failure. Changing the oil filter at the same time can offer that extra bit of protection that your engine will need. - Disconnect The Battery
Disconnect the battery and remove it from the boat. Ideally, you should be storing your marine battery in a basement or heated workshop to prevent the battery from freezing and dying. If you are not able to store the battery indoors, you may leave it on the boat hooked up to a four-stage smart charger to keep a trickle charge going to it. - Drain and Protect Freshwater Tank and Lines
Draining your water tank and protecting your water lines are almost as important as protecting your engine. Any water left in your freshwater tank or the water lines will freeze and expand, which could cause your water tank to crack, and the water lines to burst. To safely flush and protect the lines, use an antifreeze that contains propylene glycol. - Cover Your Boat
Cover your boat with a tarp to help protect the paint and to stop snow and water from getting in. The sun will fade paint, and cause seats to crack. Keep your boat covered up will also help keep rodents and other creepy crawlies out from making it their home.
At What Temperature Should I Winterize My Boat
Some people try to push this envelope a little further than others to maximize their boat usage. From what I have found out, it is recommended that you winterize your boat before the temperature comes near, or falls below freezing.
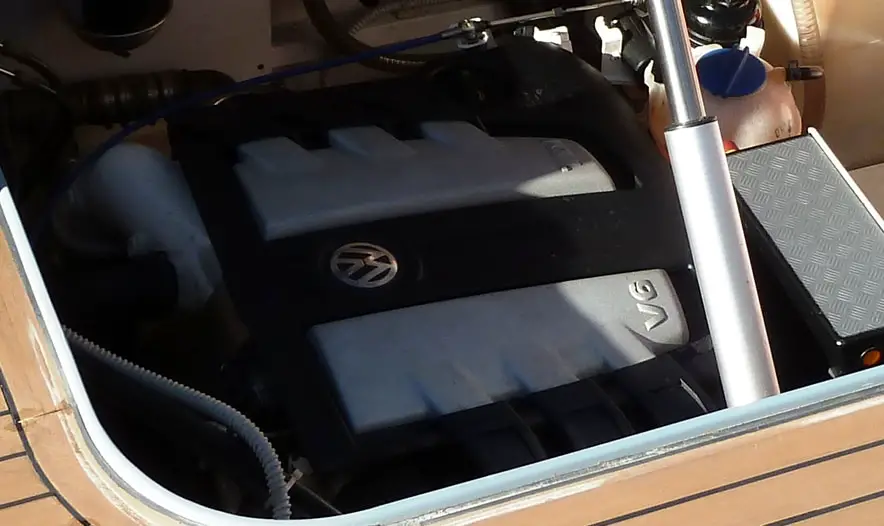
How Do I Winterize My Inboard Boat Motor
By winterizing your inboard motor, this will help prevent gunk from building up, and it keeps condensation out of the fuel tank. Overall it’s an essential process to help keep your motor healthy.
To do this, you’ll have to be able to run the engine and get it up to operating temperature. The easiest way to do this is to leave your boat in the water if you can. If your boat is up on a trailer, you can attach a water supply through a hose with a suitable adaptor, that will allow for an uninterrupted supply of water to the engine. You do not want to run your engine without a water supply.
- Make sure your gas tank is almost full, but not quite full. You want to have a little room to add some fuel stabilizer in the next step. By having a full tank, this will help make sure air stays out of the tank. You don’t want air in your tank. Air helps create condensation which turns into water, and water is bad for your engine.
- Warm the engine by letting it run idle for about eight to ten minutes. Remember to make sure your boat is either in the water, or you are running an uninterrupted supply of water. After the engine is warm, add a fuel stabilizer to the gas tank. One that is highly recommended is STA-BIL 360 22240 Marine with Vapor Technology.
- Engine Blocks:
Prepare to drain the engine block. Check with the manufacturer’s specifications on how they want you to drain the engine block. Once it’s been drained, don’t forget to tighten the plug back up. After the engine block has been drained, you want to add an antifreeze with at least a -50°F (-46°C). A recommended product is AMRS-31400R-6 Starbrite Sea Safe.
Sterndrives:
Now if you have an inboard engine with an outboard drive system, then you’ll have a few extra steps to follow. First, you want to keep your sterndrive in a downward position. Bring the temperature back up again. (Don’t forget to use your water source). Let that run for a couple of minutes. This will allow the coolant and fuel stabilizer to circulate throughout the lines, carburetor, and injectors. - The next step you want to do is to spray fogging oil into the engine. This should be done while the engine is still warm. You can visit this article for more information: Fogging Engine: Proper Use of Fogging Oils.
- Fill a five-gallon bucket with non-toxic antifreeze. Close the intake seacock, then transfer the hose to the bucket of antifreeze. Now while the engine is in idle, watch for the exhaust to begin discharging the antifreeze. At the same time, keep an eye on the bucket of antifreeze and make sure it does not go dry. Top it up if you have to.
- Spray on the fogging oil thoroughly. A product that is recommended is called Star Brite Professional Grade Fogging Oil available on Amazon.
Once you begin to see white smoke you can let the bucket empty out, and then turn off the engine. Reconnect the hose to the seacock. - Once the engine is off, remove the spark plugs using the proper tools. Now spray fogging oil into each plug hole. Next, spray the spark plug tip and reinstall each one again into the engine.
- Now you will want to change the engine’s oil. Make sure the engine is still warm when you do this.
- Replace the oil filter.

How Do I Winterize My Outboard Boat Motor
Winterizing an outboard motor is a little different then winterizing an inboard.
- Make sure you have a full tank of gas. Leave a bit of space to add some fuel stabilizer in the next step.
- I’ve read in a few different places that it is recommended that you do not use a fuel stabilizer that has been left over from a previous year. Each year you should buy a new container. One that is highly recommended is STA-BIL 360 22240 Marine with Vapor Technology.
Follow the directions on the back and add the proper amount of stabilizer based on your fuel tank size. By not treating your gasoline left in your motor over the winter, this could cause the gas to gum up and clog your lines. - After you’ve added the stabilizer, it’s time to position the muffs at the bottom of the motor and turn on the water. This will allow the engine to pull the water in and properly cool down the engine as it runs. Once you get the engine started, verify that the water is pumping out correctly. If it is not pumping out, then there is a problem you need to fix before proceeding. Turn off the engine and see what is causing the blockage.
- Let the engine run for about ten to fifteen minutes and allow the fuel stabilizer to move through the engine and adequately coat everything. While it’s running, keep an eye on the water flowing out of the engine and make sure it’s still flowing.
- After the engine has run for 10 to 15 minutes, turn it off and remove the cap cover on the outboard motor. With the cap off, remove the plastic plate covering the inlets to the carburetor. This is also commonly referred to as the air cleaner.
- With the muffs positioned correctly still, and the water supply turned on, you can now restart the engine for the next step. Again verify that the water is flowing out of the engine keeping it cool.
- Set your RPM just slightly above the neutral position. Take your can of fogging oil and slowly spray inside the carburetor. You want to do little bursts into the carburetor as its running. You’ll notice the engine begin to sputter or bog down as you do this, which is fine. Let it bog down a little and then continue to let small bursts every second until the engine finally shuts off on you. A fogging oil that is recommended is called Star Brite Professional Grade Fogging Oil available on Amazon.
- Reconnect the cover plate after you are finished.
- Next, disconnect the wires to the spark plugs and carefully remove the spark plugs with a 13/16 wrench. Once the spark plugs are removed, take your fogging oil and spray some in each hole. Count to about four to five seconds worth of spray in each hole.
- Take some paper towel and cover the holes. Don’t shove them into the holes, just shove them in front of them so the oil doesn’t spray out. Now with the paper towel in place, begin to crank over the engine. You will not need your water supply for this step since the engine will not start with the spark plugs removed. Crank that a few times to help displace the fogging oil throughout the cylinders. Remove the paper towels when you are finished.
- Before putting the spark plugs back in, take the fogging oil and give another quick one-second spray in each hole. Spray the tip of the spark plug before you put them back inside. Reconnect the wires, making sure they are tight.
- Next, we are going to change the oil in the engine.
- Make sure your engine is in an upright position. You will want to put an oil pan underneath to catch the old oil as it flows out. If you do not have enough clearance under the engine to place an oil can, you can place a double layered durable plastic bag on the bottom.
- At the bottom of the engine, you’ll notice a screw at the bottom. Remove that screw. Look up a little higher, and you’ll see another screw. Remove this screw as well. Once this second screw is removed the oil will slowly begin to flow out of the bottom. Let this drain completely. It could take about 25 minutes for it to fully empty out.
- When the oil has finished draining, you next want to take a gear lube pump, and a bottle of gear lube. Both available at Amazon reasonably cheap, and attach the pump to the bottle.
- Carefully screw the bottom plastic part into the bottom porthole on the engine where the oil came out. Make sure your connector matches the style of outboard motor you have.
- Now with the connector screwed in place, slowly start to pump the gear oil. You’ll notice it slowly flow through the hose and into the motor. Keep doing this until it comes out of the top. When it starts to flow out of the top, take some pliers and crimp the hose, so the gear oil does not flow back into the bottle. Leave that for about ten minutes to allow the gear oil to settle fully.
- Next, put the top screw back in and tighten that up. With the top screw in place, you can now remove the hose connected to the bottom and now put that screw back on, making sure it is nice and tight. Let that sit for twenty to thirty minutes to make sure there are no leaks.
- For the last step, you can now replace your fuel filter.
Recommended extras:
- It is recommended that you change your impellers annually or at least every other year to prevent them from wearing out and becoming damaged. A damaged impeller could come apart and cause little pieces to be sucked in hoses, which could lead to a lack of water to cool your engine.
Drain and Protect Your Water Lines
If you have a faucet onboard, you’re going to have to prep the lines, so they do not freeze. Draining and protecting your water lines are just as important as protecting your motor. When the temperature gets cold enough outside to freeze, your pumps, hoses, and fixtures could break from expanding ice caused by water left inside.
For this, you are going to need a bottle of antifreeze. I know what you are thinking, “Antifreeze? Are you crazy?”. The antifreeze you are looking for contains propylene glycol which is safe for drinking water systems. Make sure you do NOT use antifreeze made with ethylene glycol because this is extremely toxic.
There is a product you can buy that can help make this process a little easier, called Camo Permanent Pump Converter Winterizing Kit. Available on Amazon.
Freshwater Systems:
- Drain as much water from the tank and lines as you can, by opening both the hot and cold faucets. If you have a shower on board, you want to open both taps in there as well. Keep all of the taps open until you notice the water is starting to spit out.
- Close all of the faucets.
- Now open the cold water one of the faucets until the water is partially coming out anymore. It should be spitting water. Not completely gone but nearly all gone. Close that faucet and do the same to the hot water faucet. Close it when the water is spitting out.
- Repeat this step for all of the remaining faucets you have on board. Don’t forget back showers and back sinks if your boat has them.
- If you have a hot water heater, you want to go and drain all of the water out of that next.
- Remove the main feed hose from the freshwater tank.
- Place the main feed hose in a large five-gallon bucket with antifreeze.
- Now go back and begin opening one faucet at a time. Starting with the cold and wait until the antifreeze starts to come out. Once it does begin coming out, close that faucet and open the hot, until the antifreeze starts to come out of that one. Once it does, shut that faucet and repeat this step for each of the other water outlets you have on board.
- Next, if you have a toilet onboard, you can now flush the toilet. Again you are looking for the antifreeze to start coming out while it’s filling the toilet.
- Now remove the hose from the gallon of antifreeze and reconnect it to the freshwater tank.
- For the last step, if you have a shower onboard. Take the remaining jug of antifreeze and start pouring it down the shower drain. When you hear the pump start, stop pouring. Go and check the reservoir on the pump to the shower drain and check to make sure you can see some antifreeze in there. If you can then that’s good, that’ll be protected.
Raw-water Systems:
- Remove the raw-water hose for each pump from its closed supply seacock.
- Fill a large five-gallon bucket with antifreeze.
- Run each pump until you see the antifreeze flowing out from each fixture.
- When you are finished with each one, reconnect the raw-hose to its closed supply seacock.

How Do I Winterize My Battery?
Once you are ready to pack your boat away for the winter and you’ve finished performing all of the other important duties listed above, then it’s time to take care of the battery. Ideally, you should remove the battery and keep it stored indoors. If that is not an option, then you can leave it in the boat disconnected and hooked up to a very low trickle charger.
You might be interested in: Should I Disconnect My Boat Battery – What I Learned
How Do You Keep Pests Away?
Pests are a whole other problem. It doesn’t matter if you are storing your boat on a lift or in your garage, pests can be a pain. Here are a few tips I’ve found that could help you.
- The first tip which should be an obvious one is, don’t leave any food on your boat. This will attract unwanted pests.
- Vacuum the floors, and wash down your seats. The tropical smelling sunscreen you’ve been wearing all summer could still be lingering in the boat and smell tempting for some smaller critters.
- Make sure you’ve covered your boat properly and tightly.
- I haven’t personally tried this myself, but I’ve read that mothballs and peppermint scented dryer sheets will repeal mice away.
Covering Your Boat For Winter
There are a few options when it comes to covering your boat for the winter months. You can use any of the following methods.
- Plastic Tarp: This option is the cheapest choice, however, it is not recommended. The plastic tarp can blow around, reveal openings, and overall not do a great job in protecting your boat from the winter elements.
- Boat Cover: Boat covers are a little like a plastic tarp except they fit much better. They still tend to blow around a little but not as bad as a plastic tarp would. They have elastic around the edges to help keep a better fit. You can generally get several seasons out of them.
- Fitter Cover: A fitter cover is a much better choice for maximum protection. A lot of the more popular models will have fitter covers available. They cost much more than any other type of cover or tarp but do the best job for total coverage.
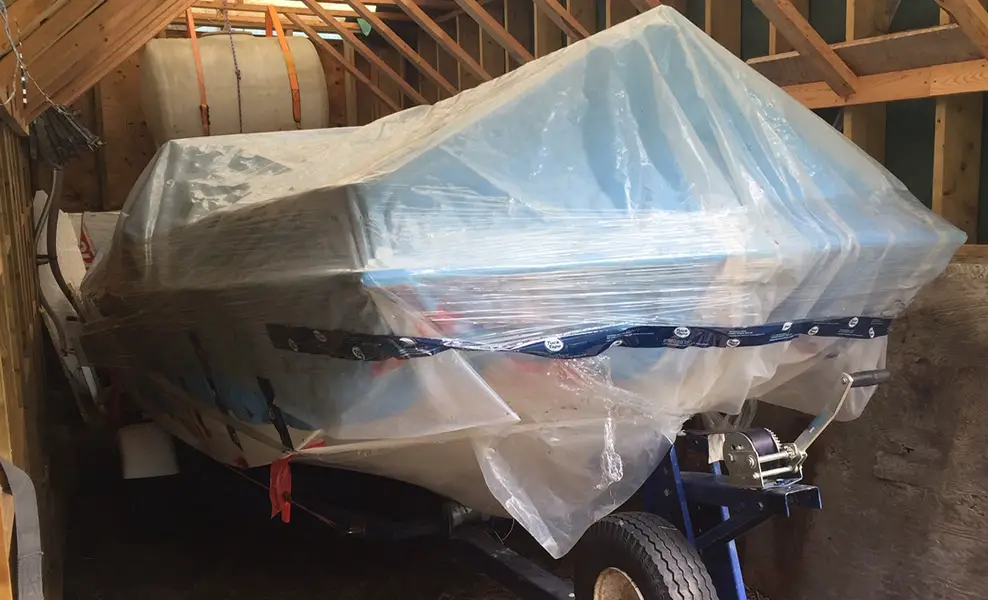
-
Shrink Wrap: Shrink wrapping your boat is another great way to proect it from the harsh weather and keep it clean. The important thing that you need to remember before shrink-wrapping your boat is that it must be completely dry first. Any water or moisture that gets trapped during the wrapping phase will cause mold.