Complete DIY Boat Maintenance Guide For Beginners
Now that I’m a boat owner, I’m starting to learn that it’s not just all fun all of the time. Every boat requires some maintenance to ensure it’s running correctly and many of those things you can do yourself. I put together a list of items you should be checking and doing to help prolong the health of your boat and make each outing more enjoyable.
Basic Boat Maintenance Tips
 Wash your boat regularly: After every use, you should be washing your boat with clean, fresh water. You can use a long-handled brush, or a spray wand to make the job a lot easier. Make sure that you are using an environmentally friendly soap such as biodegradable detergents, made specifically for boats, to protect the gel coat finish and the environment.
Regularly cleaning your boat will help prolong the boats finish and help protect the metals from corrosion, but it will also help you save money in fuel. A dirty hull could add as much as 30% to your fuel costs.
 Wipe down your boat seats: It is important to wipe down and clean your boat seats regularly to help prevent dirt, salt water, mold and mildew from damaging them over time.
- Fill bucket 3/4 full with fresh, clean water. Add 1/4 cup of soap.
- Wet cloth or sponge, and wipe down seats in a circular motion. Don’t pool water in the seat.
- Have a separate bucket of fresh water, use this to dampen a cloth and wipe away soap residue in a circular motion.
- Use a soft dry cloth to wipe down and dry the seats.
At least once a week you should apply a UV inhibitor product to your seats to prevent them from shading or to crack, caused by harmful UV rays. A recommended product for vinyl, Plexiglas, carbon fiber, rubber, plastics, and finished leather is the 303 Marine Aerospace Protectant. Not only does the product work great in protecting the seats, but it doesn’t leave an oily feel behind. I wrote an article on seat care and repair here.
- Spray on the UV protector product, after you’ve correctly cleaned your seats.
- Take a soft dry cloth and wipe the seat down rubbing in the protector.
 Look over the engine: Now and then take a good look at the engine and make sure everything is looking good. Here are some things you should keep an eye out for:
- Check the hoses and make sure they are not starting to crack. If you notice a hose beginning to crack, you should replace it right away. A cracked hose could start leaking.
- Lubricate all moving parts with an anti-corrosive.
- Look for corrosion on fuel lines and clamps.
- Check to make sure the outboard motor is still secure to the transom by tightening the bolts.
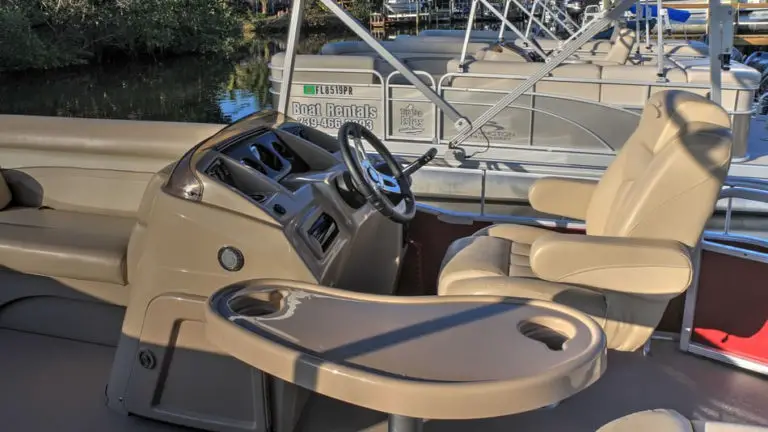
 Clean the interior of the boat: The interior of the ship can accumulate dirt, mold, and mildew very quickly.
- Storage compartments should be emptied and scrubbed down with a biodegradable solution such as Star Brite Sea Safe Biodegradable Boat Wash Soap.
- Vacuum floors and in between tight spots.
- If you have a marine-grade, snap-on carpet, then remove it, bang it off away from the boat, and vacuum the flooring under it. You’d be surprised at how easy dirt and crumbs can build up under this type of flooring.
- Wipe down the console and everything else in the side of the boat.
 Check the propeller: If you have an outboard or a stern drive boat, as part of your pre-launch routine, you should check the propeller nut to ensure it is still tightened, by using a deep socket wrench. Also, check the propeller for any damage. Small dents in the prop could cause your engine to burn extra fuel. Chips and damaged paint are not a significant concern, but you should look at getting that repaired if it looks like you hit something with the propeller.
A few times per year you should be removing the propeller completely to grease the shaft, and make sure you don’t have any fishing line or other debris wrapped around it. If you do find a fishing line wrapped around the shaft, you should take the motor to a dealer and have them inspect the gear-case, because a fishing line can cause gear-case leaks, which is not a job you should try doing on your own. Removing or changing a propeller is reasonably at, and takes hardly any time with the right tools. I wrote an entire article on it to help make it easy for you.
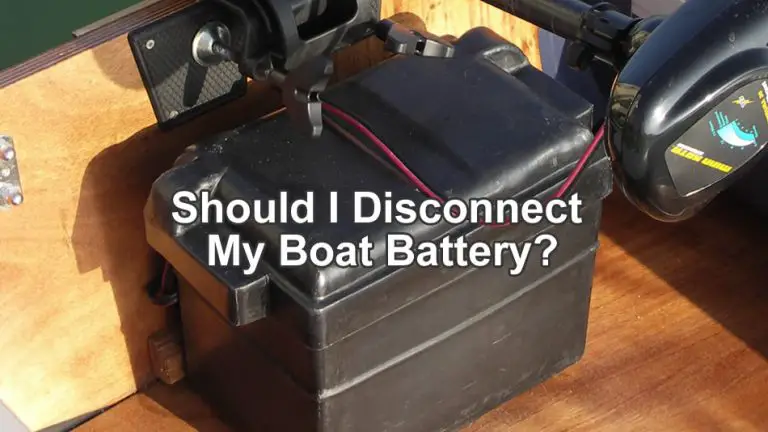
 Check the battery: Overtime your battery will start to degrade, even if you are not using them. It is recommended that you should check your battery at least once a year, however, I would suggest checking it more frequently than that during the season. The battery is one component you do not want to ignore. You can check the battery using a digital multi-meter to determine how much charge is left.
A regular lead-acid battery will typically last about 3 to 5 years. Batteries come with a 3-year warranty because that’s about how long they are expected to last.
While you are checking the battery, also take a look at the connections and make sure there is no corrosion. You can take a wire brush to clean the connectors.
 Check the bilge pump: The bilge pump is an essential part of your boat, it removes water that builds up within the bilge. Without it, your boat could fill up with water and sink. Checking to make sure this is working correctly is a vital part of basic maintenance checks.
Unhook the hoses and make sure they are free from any debris that might be clogging it.
It is recommended that you have a secondary bilge pump in case the primary pump fails. Bilge pumps are not very expensive and are a crucial part of your ship (Check Amazon for the current prices).
 Check electrical lines: Electrical lines are another thing that will wear down over time if not properly cared for.
- Clean off any dirt or debris build-up found on the lines.
- Check to make sure everything is working correctly.
- Use a digital multi-meter to check the health of the lines.
 Change the oil and oil filter: Unlike a car, most boaters tend to change the oil themselves. In a lot of ways, it’s a lot easier than changing the oil of your car.
- Start the engine and warm it up for about 7 to 8 minutes.
- Turn off the engine.
- Place a container under the drain plug area.
- Remove the drain plug, then unloosen the screw above.
- Remove the old oil by letting it sit for about 30 minutes.
- While you are waiting for the oil to drain, change the oil filter.
- Replace the drain plug once all of the oil has emptied out, and tighten the screw above.
- Fill the engine with marine grade oil.
How Often Do You Need to Change the Oil in a Boat?
 A gasoline engine manufacturer typically recommends that you change your oil every 100 hours, or at least once a year, whichever comes first. Your engine manual may allow for longer intervals between oil changes, however, to extend the life of your engine you should change the oil more often.
A diesel engine is much different and a lot harder on the lubrication. It is recommended that you change the oil on a diesel engine around 50 hours. Of course, you can change it sooner, to help prolong the health of the engine. Sailors should change the oil in much shorter intervals since they only tend to use the engine for an hour or two during a typical outing.
At the end of every season, you should flush out the oil during your winterization process. I wrote an article called Everything you need to know for winterizing a boat, that I am sure you’ll find helpful.
Boat Maintenance After Saltwater Exposure
If you run your boat in saltwater, there are two very important things you should do right away, or at least within a 24 hour period at the latest.
- It is important that you thoroughly rinse off your boat with fresh water to remove salt residue. Salt that is left too long will begin to corrode metal, fasteners, and any other hardware.
- Flush the engine. Not only does this help prevent corrosion from the inside, but it also helps stop salt crystals and deposits from gathering in the lower unit.
Flushing an outboard motor with easy hose adaptor: This is typically found on newer, larger, 4 stroke engines.- Keep the engine pointing down, in an upright position.
- Remove the plug on the easy hose adaptor.
- Screw on and attach a water hose, connected to your fresh water supply.
- Turn on the water and let it flush out the system for about 5 minutes.
- When you are done, remove the hose, reconnect the plug to the easy hose adaptor.
Important: Do NOT start or run the motor while you are flushing the engine. This type of motor while hooked up a hose adaptor is not meant to be running during the flushing process.
Flushing an outboard motor without an easy hose adaptor: Outboard motors that are smaller or older, might not have a hose adaptor but that’s okay, you can use a product called Five Oceans Universal Outboard Motor Flusher that covers the water intake hole on the engine. The same goes for stern drive motors as well. 
- Keep the engine pointing down, in an upright position.
- Connect the Five Oceans Universal Outboard Motor Flusher to a garden hose, attached to your fresh water supply. Then slide it in from the back of the propeller so the “ear muffs” are covering the intake holes.
- Turn on the water and make sure the motor is getting enough water. To do this, check on either side of the engine and make sure the water is pouring out from around both “earmuffs”.
- Now start the motor. Take a look at the telltale and make sure it’s spraying out water. That will tell you that the engine is getting water from your watering supply.
- Let’s the motor and water run for about 5 minutes.
- After 5 minutes, turn off the motor, and then turn off the water.
Important: Do NOT walk away from your motor while it is running. As the engine runs, it will create vibrations that will slowly wiggle the Five Oceans Universal Outboard Motor Flusher away from the holes. When this happens, simply reposition them over the holes and let it continue flushing.
Flushing an inboard boat engine: Flushing an inboard engine is relatively easy to do. There’s a product called Redneck Convent Boat Motor Flusher that looks like a toilet plunger and covers the intake hole nicely.
- Using a fresh water supply, hook up a hose to the Redneck Convent Boat Motor Flusher and place it over the water intake hole.
- Fully, turn on the water and let it flow into the intake hole.
- Turn on your engine.
- While it idles, clean, fresh water will be pumped through the engine.
- Keep an eye on the water flowing out. When the water comes out clear, your engine is clean.
- Turn off the boat.
- Turn off the fresh water supply, and remove the hose from the water intake.
Important: While running your engine, make sure it is in idle only, and that it is getting a steady stream of water through the water intake. Never run your engine dry without water.
Basic Boat Trailer Maintenance
Let’s face it, without the trailer you might not be able to take your boat anywhere. That’s why you should also perform some regular checks on the trailer now and then during the regular season. Paying attention to these basic points below will pay off in the long run.
- Check the tire treads to make sure they are not worn out too low, or unevenly worn. Make sure there are no cracks in the side walls.
- Check the air pressure in the tires.
- Check the wheel hubs lubricant level and refill when necessary. At least once per year you should check the bearing grease for any contamination and replaced if necessary. Check with your owner manual about wheel bearing service.
- Check the coupler and make sure it’s working correctly, and there is no damage to it. Lubricate with a little bit of grease when needed, and confirm that the coupler latch is tight on the hitch ball when connecting.
- Check the lights on the trailer and make sure they are working correctly. Replace bulbs if necessary. Inspect the lenses for cracks.
- Spray contact spray in the connections running from your tow vehicle to the trailer. This will keep the connection strong, and prevent corrosion.